¶ Introduction
OAuth2 Proxy is a lightweight middleware and reverse proxy that can sit in between the user and a legacy HTTP application, taking care of proper authentication before accessing the application. It can also act as a middleware in between another proxy or load balancer and the application.
¶ Configuration with Keycloak and Apache
In this example, I'm going to show how to configure this Caddy setup we already made so that the Apache / HTTPD server access must first be authenticated using Keycloak.
¶ Keycloak
In your Keycloak server, create a new client in the appropriate realm. I'm using internal as the realm, and the client id in this example will be http-server. Don't forget to enable Client authentication. Still using the same example from the Caddy setup, you'd have https://www.example.com as Root URL, Home URL and the Web origins. For the Valid Redirect URIs, use https://www.example.com/oauth2/callback.
In the Client Scopes tab for your client, choose the http-server-dedicated scope, click on Add mapper and choose By Configuration. Choose Audience as the mapper type, name it aud-mapper-http-server and put http-server into the Included Client Audience.
Now, go to the realm Groups and create a group called http-access. You don't need to add any roles to it, the group will be used for verification. Add your realm's user to this group.
¶ Apache / HTTPD
In our example, we were using labels to determine the domain name for reverse proxying directly to the Apache server through Caddy. Since now we want to add OAuth2 Proxy in between Caddy and Apache, remove the labels from the HTTPD Docker Compose file and relaunch the stack without them.
¶ OAuth2 Proxy
Now, it's time to setup the OAuth2 Proxy. All of the settings can be done through environment variables, although you can also do it through command line arguments or configuration files. I'll use environment variables in this example. If your Keycloak server is in, say, https://keycloak.example.com/, here's the Docker Compose file for this (don't forget to change the values accordingly):
version: '3'

services:
  oauth2-proxy:
    image: quay.io/oauth2-proxy/oauth2-proxy:v7.5.1
    container_name: oauth2-proxy
    restart: always
    environment:
      - OAUTH2_PROXY_CLIENT_ID=http-server
      - OAUTH2_PROXY_CLIENT_SECRET=******** # <- put your secret here
      - OAUTH2_PROXY_COOKIE_SECURE=true
      - OAUTH2_PROXY_COOKIE_SECRET=***** # <- generate with: openssl rand -hex 16
      - OAUTH2_PROXY_PROVIDER=keycloak-oidc
      - OAUTH2_PROXY_OIDC_ISSUER_URL=https://keycloak.example.com/realms/internal # <- put the correct URL
      - OAUTH2_PROXY_CODE_CHALLENGE_METHOD=S256
      - OAUTH2_PROXY_EMAIL_DOMAINS=*
      - OAUTH2_PROXY_UPSTREAMS=http://httpd/ # <- this is the container name for the httpd server.
                                             # You add a port if non standard (i.e., http://httpd:8080/)
      - OAUTH2_PROXY_HTTP_ADDRESS=0.0.0.0:4180
      - OAUTH2_PROXY_REDIRECT_URL=https://www.example.com/oauth2/callback
      - OAUTH2_PROXY_SKIP_PROVIDER_BUTTON=true
      - OAUTH2_PROXY_SCOPE=openid email profile
      - OAUTH2_PROXY_ALLOWED_ROLE=http-server:http-access
    labels:
      caddy: www.example.com
      caddy.reverse_proxy: "oauth2-proxy:4180"
    networks:
      - services

networks:
  services:
    name: services
    external: true
Note that the labels we had for HTTPD are now used in the OAuth2 Proxy service, and that the reverse proxy will point to the oauth2-proxy service instead of the Upstream variable.
This should be enough. Now, when you try to access https://www.example.com/, you should see the Keycloak login page for your realm instead:
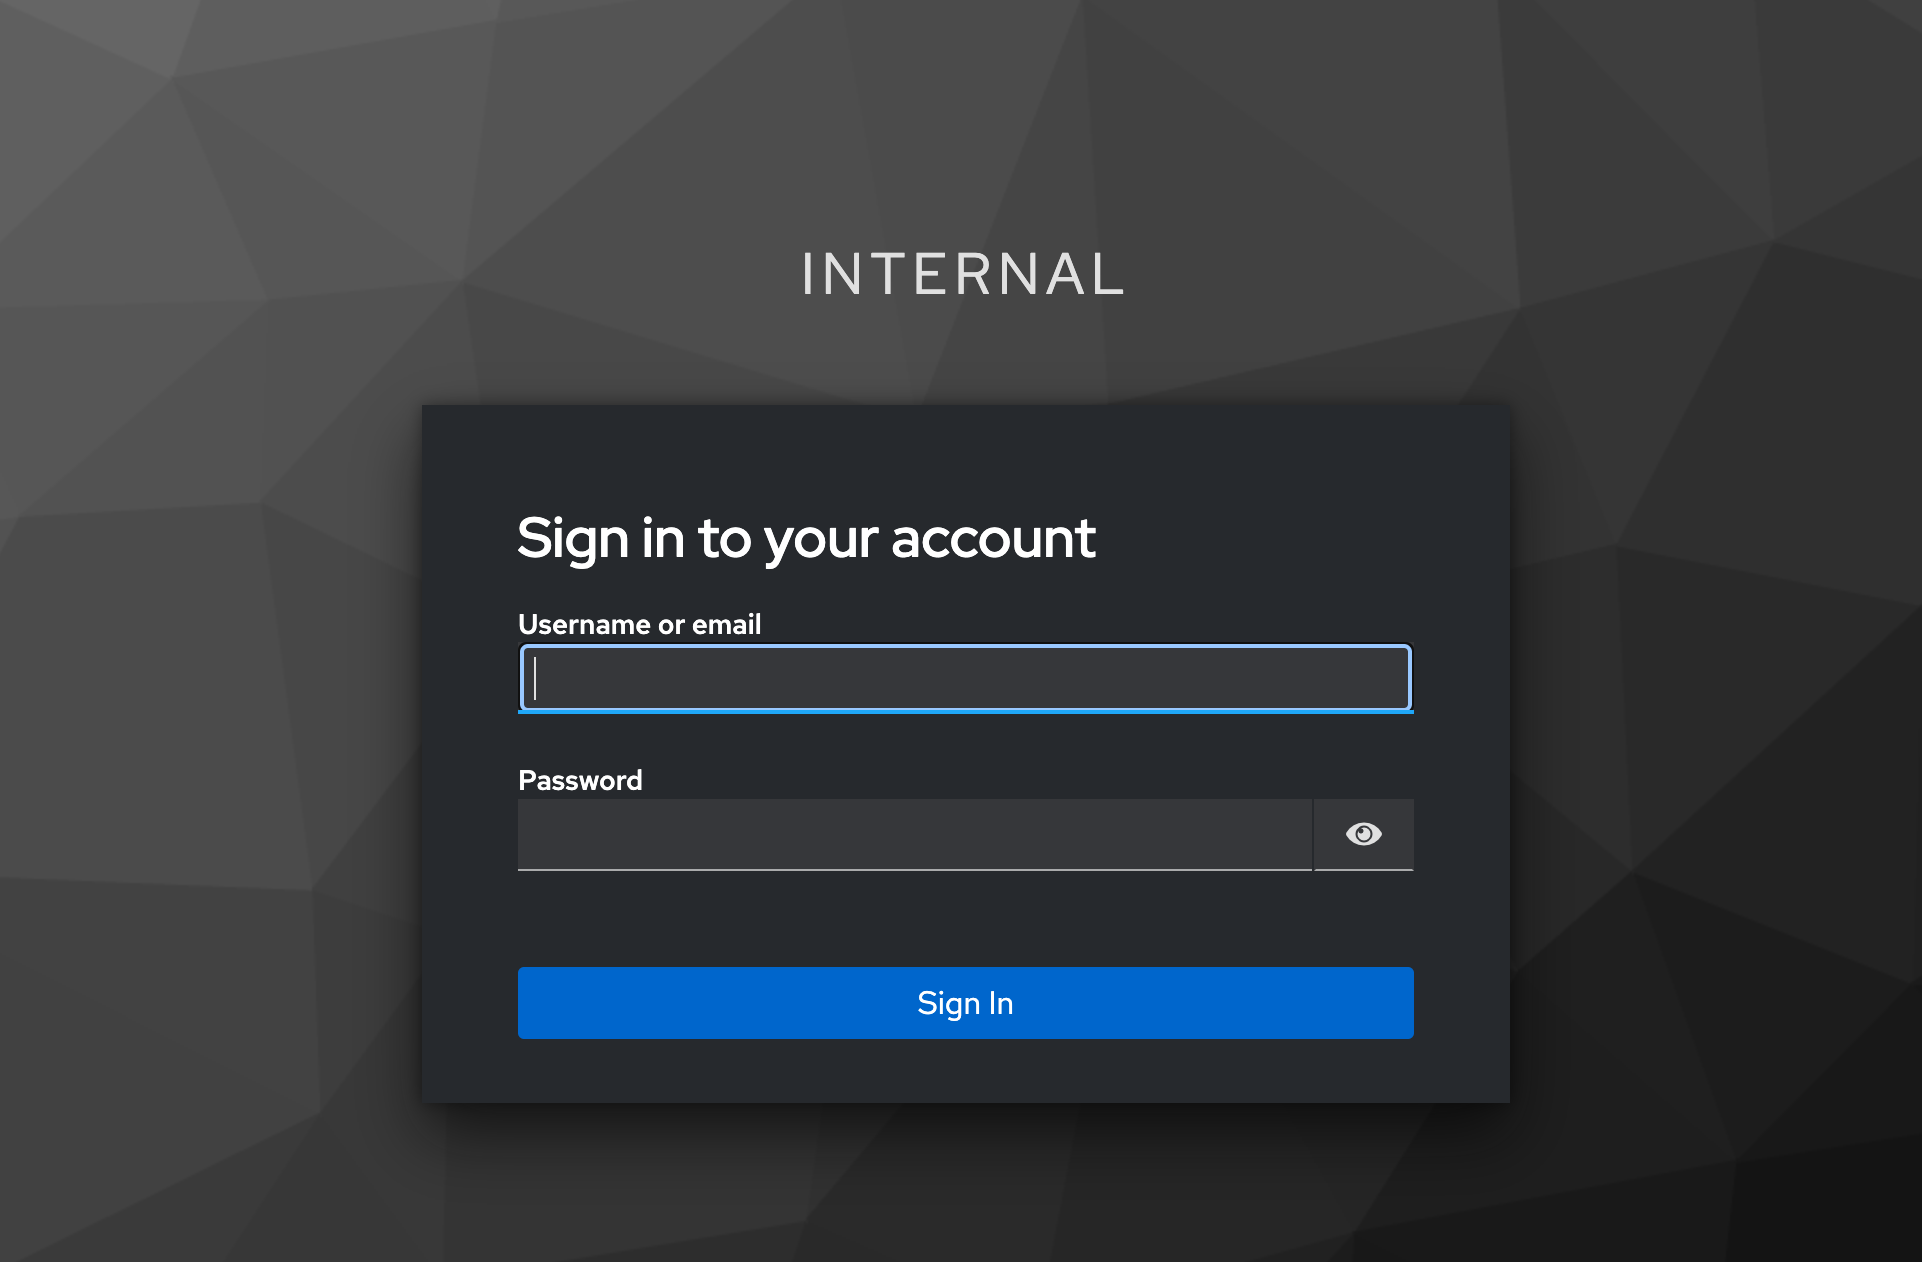
Once you are signed in, you should now be able to see the HTTPD contents.