¶ Introduction
Portainer is a web administration tool for Docker, Podman, Kubernetes, Swan and other infrastructure / container services. It can connect either to local Docker socket or through the usage of remote agents installed on the server(s). The Community Edition is very good for personal use, which is what will be explored in this page.
¶ Installation
Portainer can be installed in any Docker / Podman environment. I recommend that this is the first container to be installed in the environment, so that you can user Portainer for managing all other services more easily.
You can use this Docker Compose file for bringing it up. Make sure you previously create both the services network and the portainer_data volume before bringing this environment up. Also, don't forget to change the AGENT_SECRET environment variable to something unique that only you know. This will be used for communicating with remote agents.
version: '3'

services:
 portainer:
   image: portainer/portainer-ce:lts
   restart: always
   container_name: portainer
   environment:
     - AGENT_SECRET=b81428ef-6e24-4985-859c-d384a9bd5d4e
   volumes:
     - /run/podman/podman.sock:/var/run/docker.sock
     - portainer_data:/data
     #  This is configured for Podman. For Docker, replace the first volume:
     #  - /var/run/docker.sock:/var/run/docker.sock
   ports:
     - 8000:8000
     - 9443:9443
   networks:
     - services

volumes:
 portainer_data:
   name: portainer_data
   external: true

networks:
 services:
   name: services
   external: true
¶ Configuration
¶ Managing the local environment
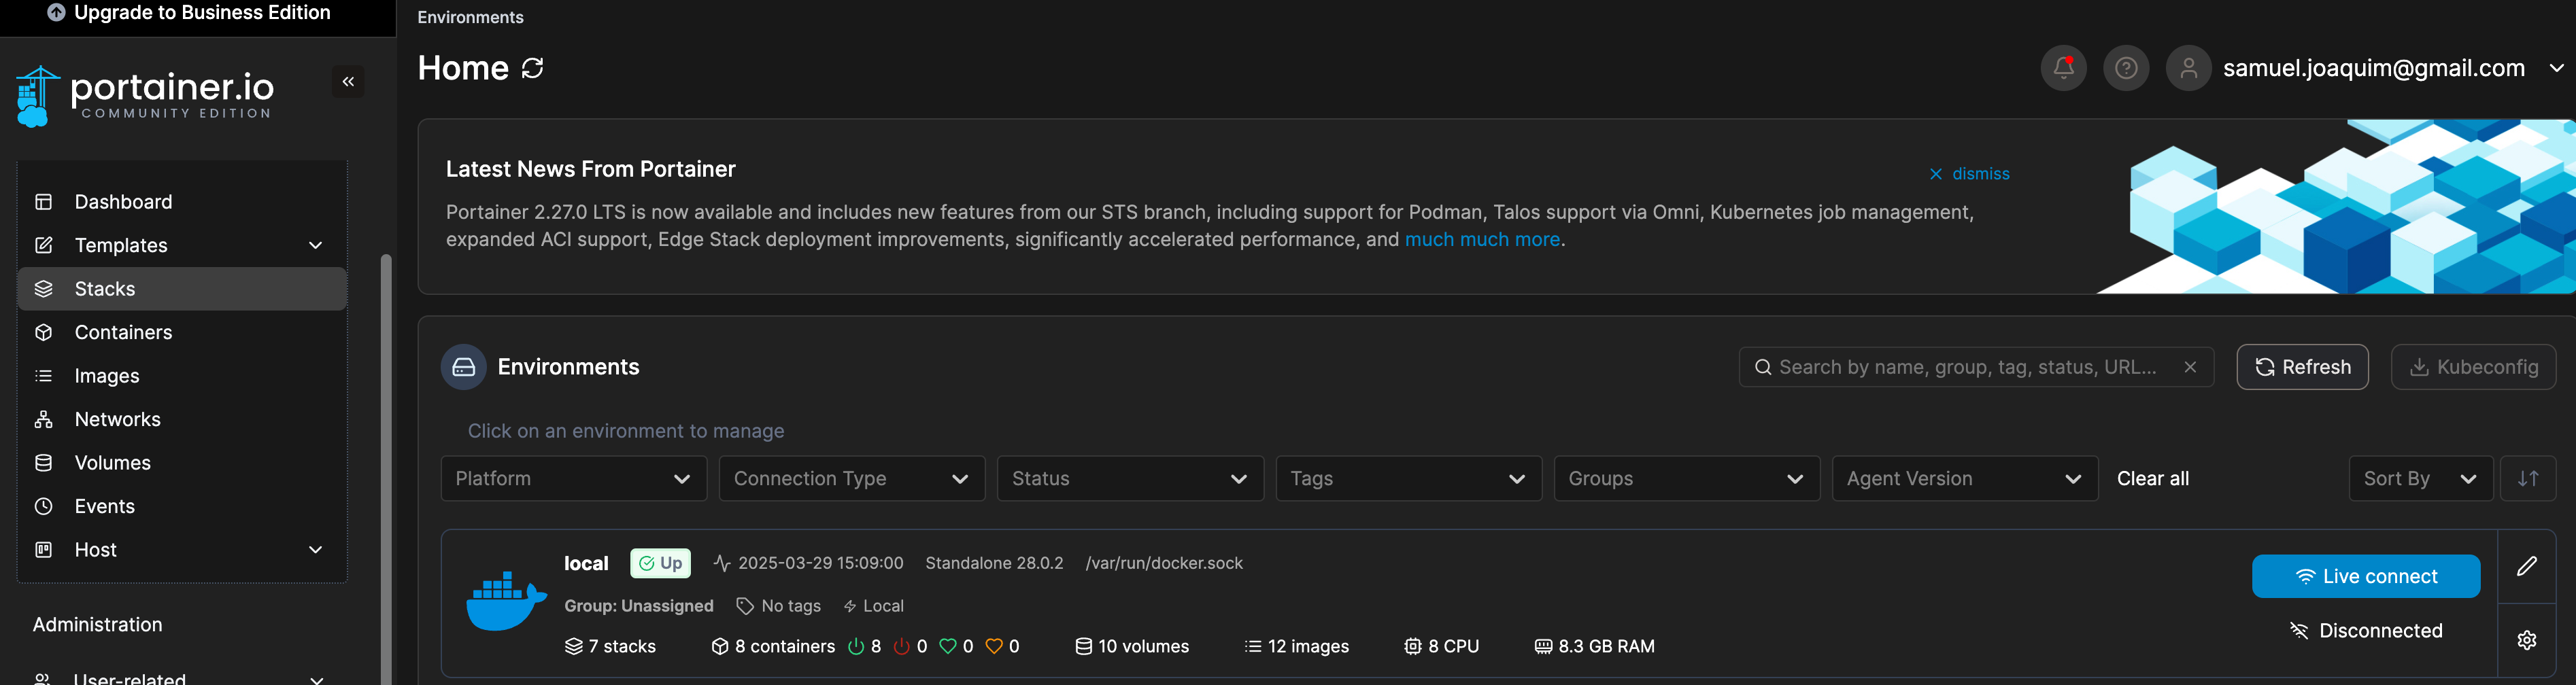
Now you should be able to log into your Portainer environment using https://<portainer_addr>:9443/. The first time you access it, you should be prompted to create the admin user and password. Once it is set, you should now be able to access your local environment and spin up new containers and stacks:
¶ Setup Keycloak integration
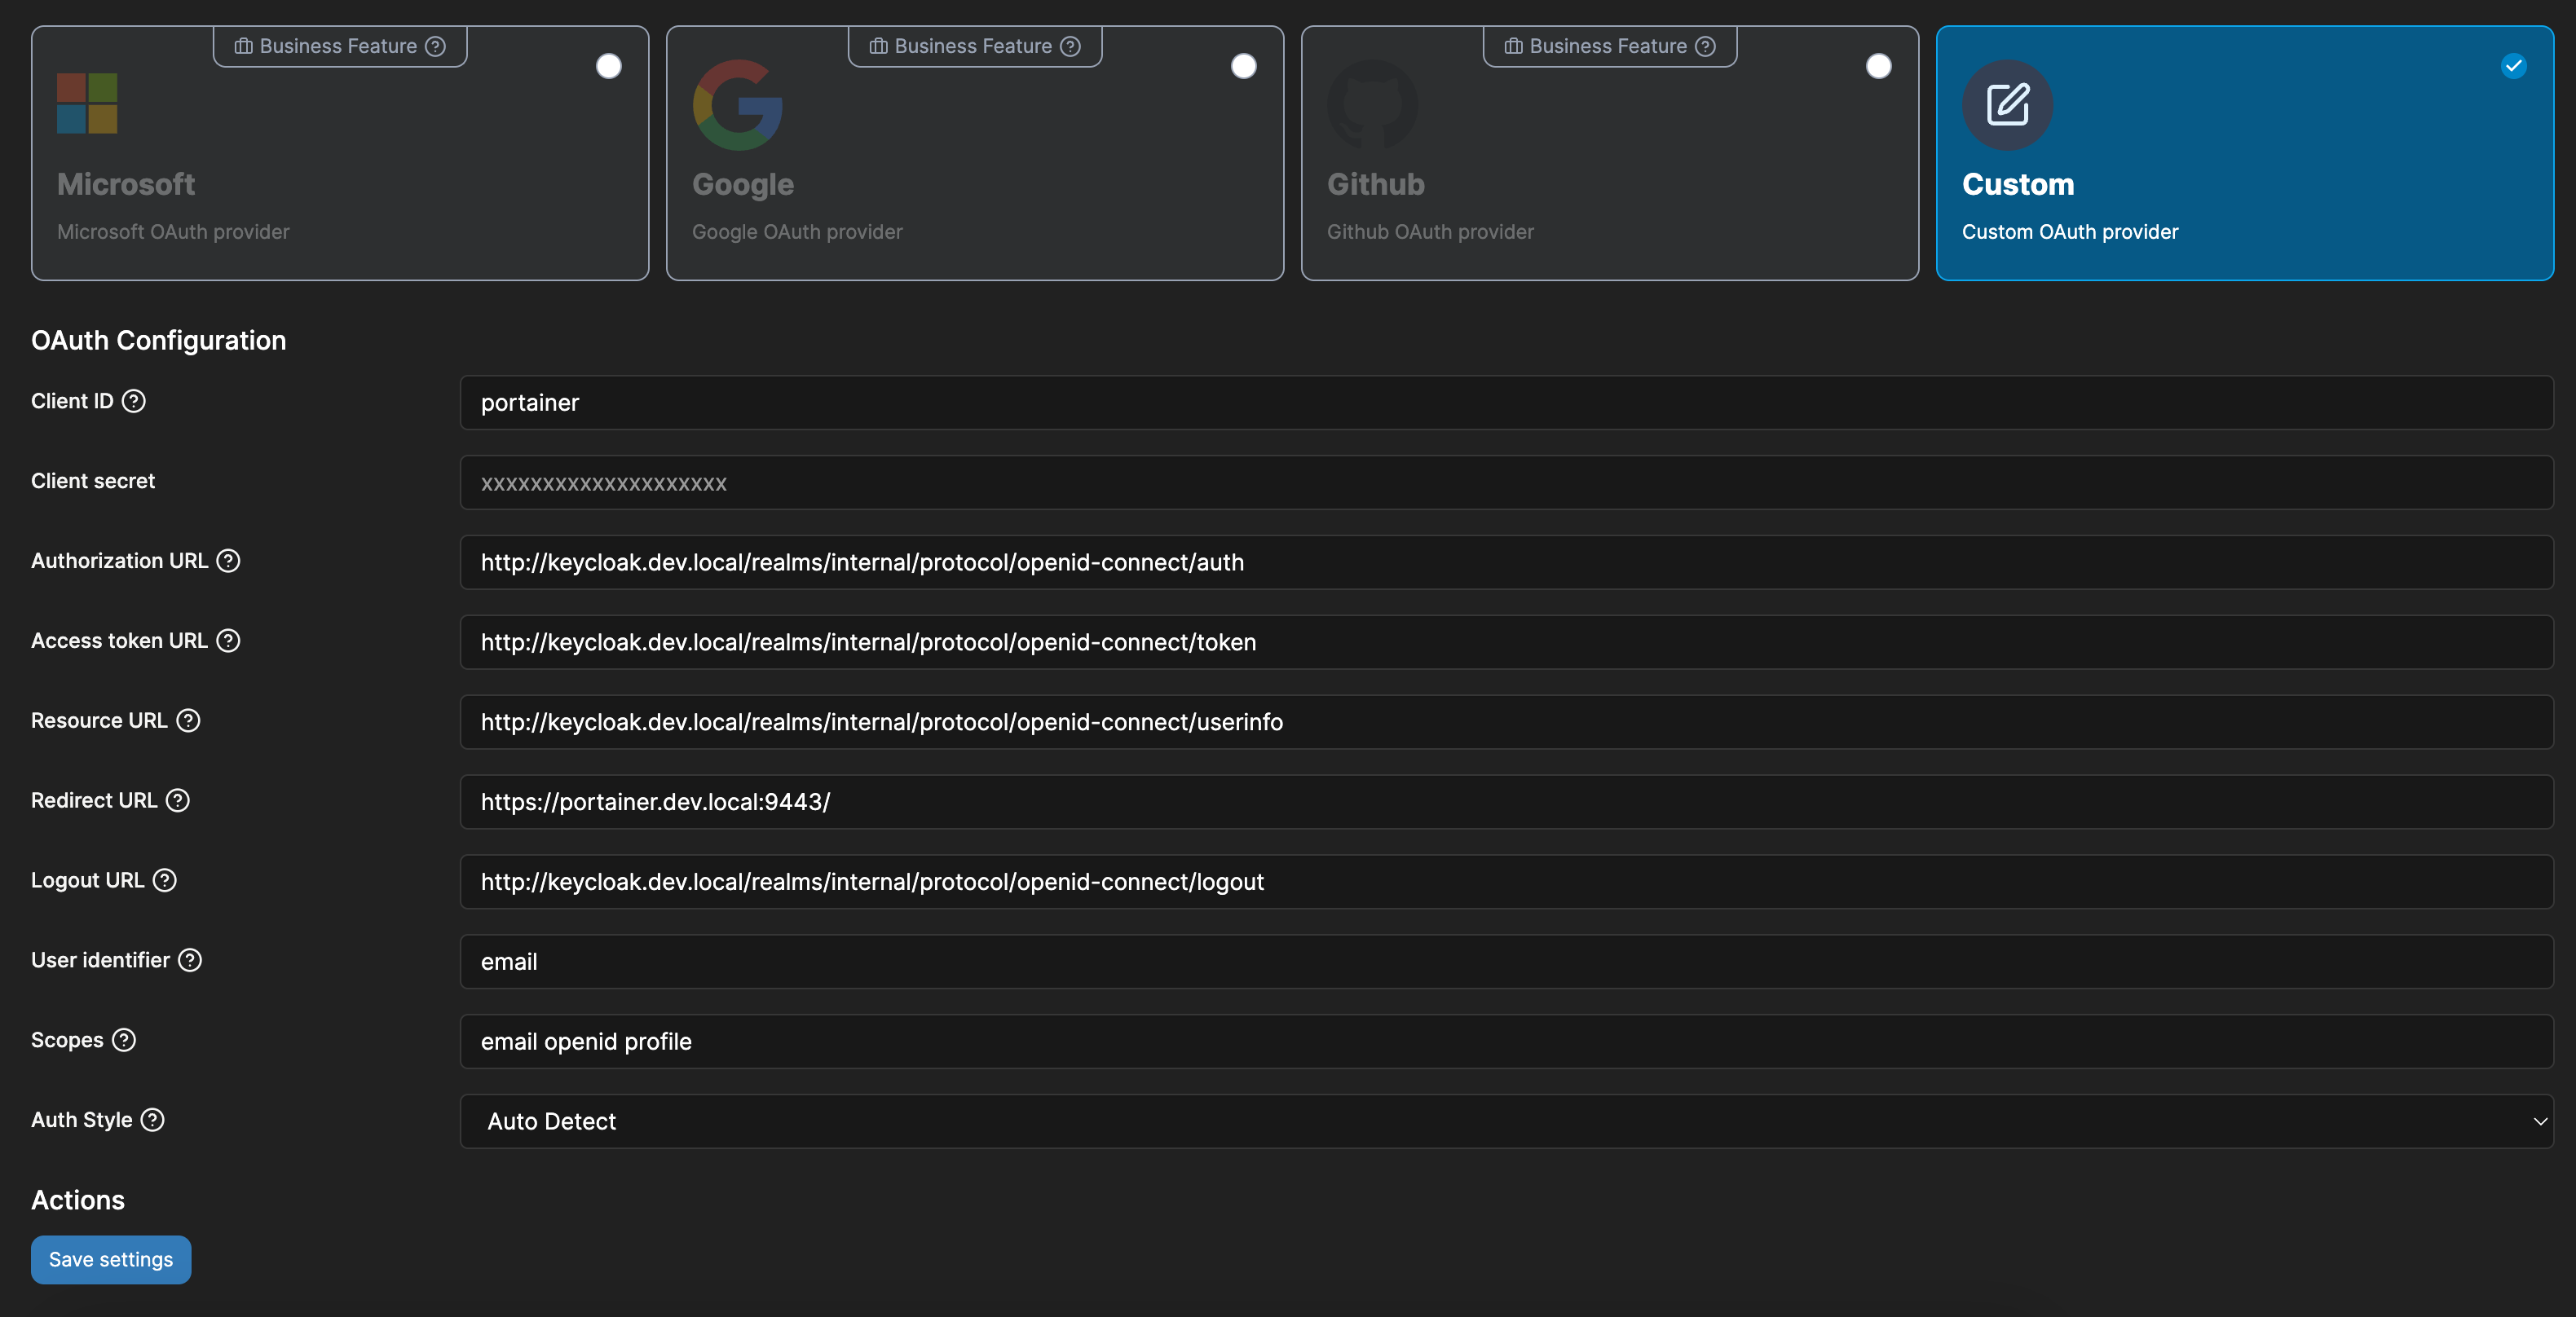
You can use Keycloak as an OpenID Connect provider, so that you can use its SSO capabilities with Portainer. Go to Settings > Authentication and choose OAuth with Use SSO and Automatic user provisioning enabled. Choose custom provider. And configure it with your Keycloak client information:
¶ Setup Remote Management Through Socket
To add a new environment for management, go to Environment-related > Environments and click Add Environment. Choose the type of environment and then click Start Wizard. Now, you'll need to add an agent in your remote environment - use the instructions provided by the wizard. NOTE: for Podman, you'll need to add docker.io/ to the image name so that it can be found. Once you ran the command in your remote environment, don't forget to make sure that por 9001 is open for the outside world in your firewall.
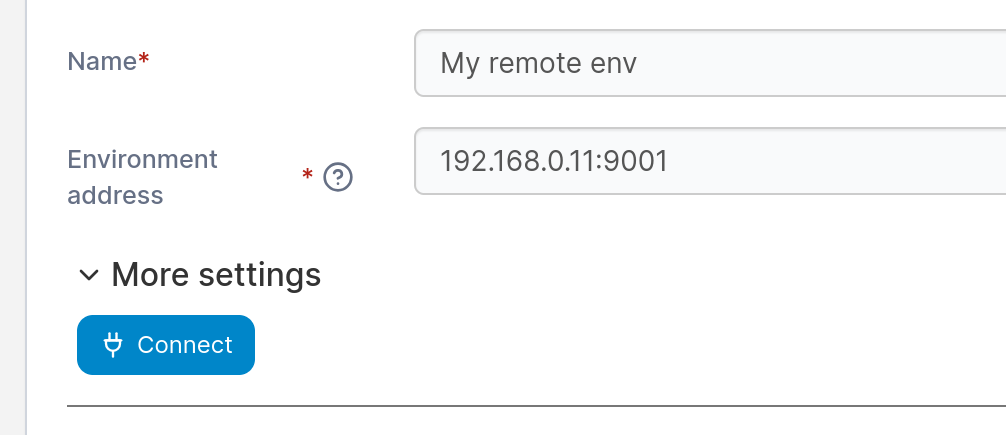
Once you are done, add a name for your remote environment and the connection address, including the port and click Connect:
Now, if you go to the Dashboard, you should be able to see the new environment listed. Once you connect to it, you are now able to manage your remote environment.